Showing posts with label tools. Show all posts

Monday, November 4, 2019

Bar Knives

For the purposes of cutting fruit for garnishes, just about any well taken care of knife will do the job. I've used oyster knives, serrated steak knives, 8-inch chef's knives, and weirder. A butterfly knife worked really well for me for years. A dollar store paring knife will do the job but it will dull or even break fairly quickly. Spend at least $10 on a good piece of stainless steel. Here's a guide of the pros and cons of different knife types. 

In terms of material make your choice wisely. Carbon steel is sensitive to citrus so avoid that. Some people prefer non-stick silicon-coated knives, which usually come in a variety of pretty colors. The coating allows the knife to be cleaned easier but constant use and sharpening removes the protective outer layer. Most are affordable enough to replace as needed. Compared to carbon steel, ceramics are actually wonderful. They will hold an edge longer, they don't rust, and are typically cleaner. They can't cut overly dense materials though, like anything frozen. Steel remains the most versatile. If you take the craft seriously and enjoy the ritual of maintaining your tools get something solid. If you're just keeping it casual, silicone coating or ceramic work fine. 

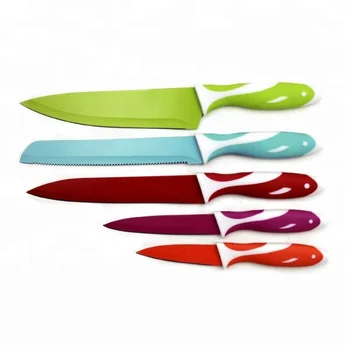
Length and shape are just as important. They are important with regards to most things. 3.5 inches is a standard for a fruit paring knife, but that is sometimes too small and makes cutting anything the size of an orange or larger rather tricky. It'd require multiple sawing cuts, which leads to a higher chance for error. Not the end of the world, but I go for 4 inches, it's still easy enough to finely maneuver. The purchasing of larger knives may be necessary for pineapples and whatever other custom needs you may come across. Go on, get a machete if you are doing coconuts. Just, please be careful and watch your fingers. 

Unless you were a professional chef at an Asian restaurant focusing in soba noodles in a past life, get a standard double-edged blade. With training, these can be handy for ice carving, but that's another conversation. And avoid serration to assure clean cuts with no stringy bits hanging off. 

The shape and curve of the blade are where things really get subjective. A nice point is necessary for detailed work. Get a good spear point and you can cut designs as if you were using a pen. The choice between a classic curved, Sheeps Foot (straight/flat edge), or Bird's Beak style are fairly subjective. Bird's Beaks are weird, you're not a French chef carving potatoes. Sheep's foot knives allow you to cut all the way straight down and have the blade be totally flush with the cutting board. These square-edged knives are typically beautifully sharp. They are unfortunately typically fairly small, expensive, and harder to find. Santoku edges are not perfectly straight but are very close. They are widely available in all materials and sizes. Rounded edges are common but are designed more for fine chopping and mincing in the kitchen.

Handles are another matter. The common chef knife handle material is wood, but you widely see plastics and synthetics used, occasionally metal. Naturally, when wood gets water or acidic components or what have you on it, it can corrode. They are widely agreed to be more comfortable though. Just don't put them in the washing machine. With synthetics, you can be more careless with their caring and maintenance and it will retain its durability. 

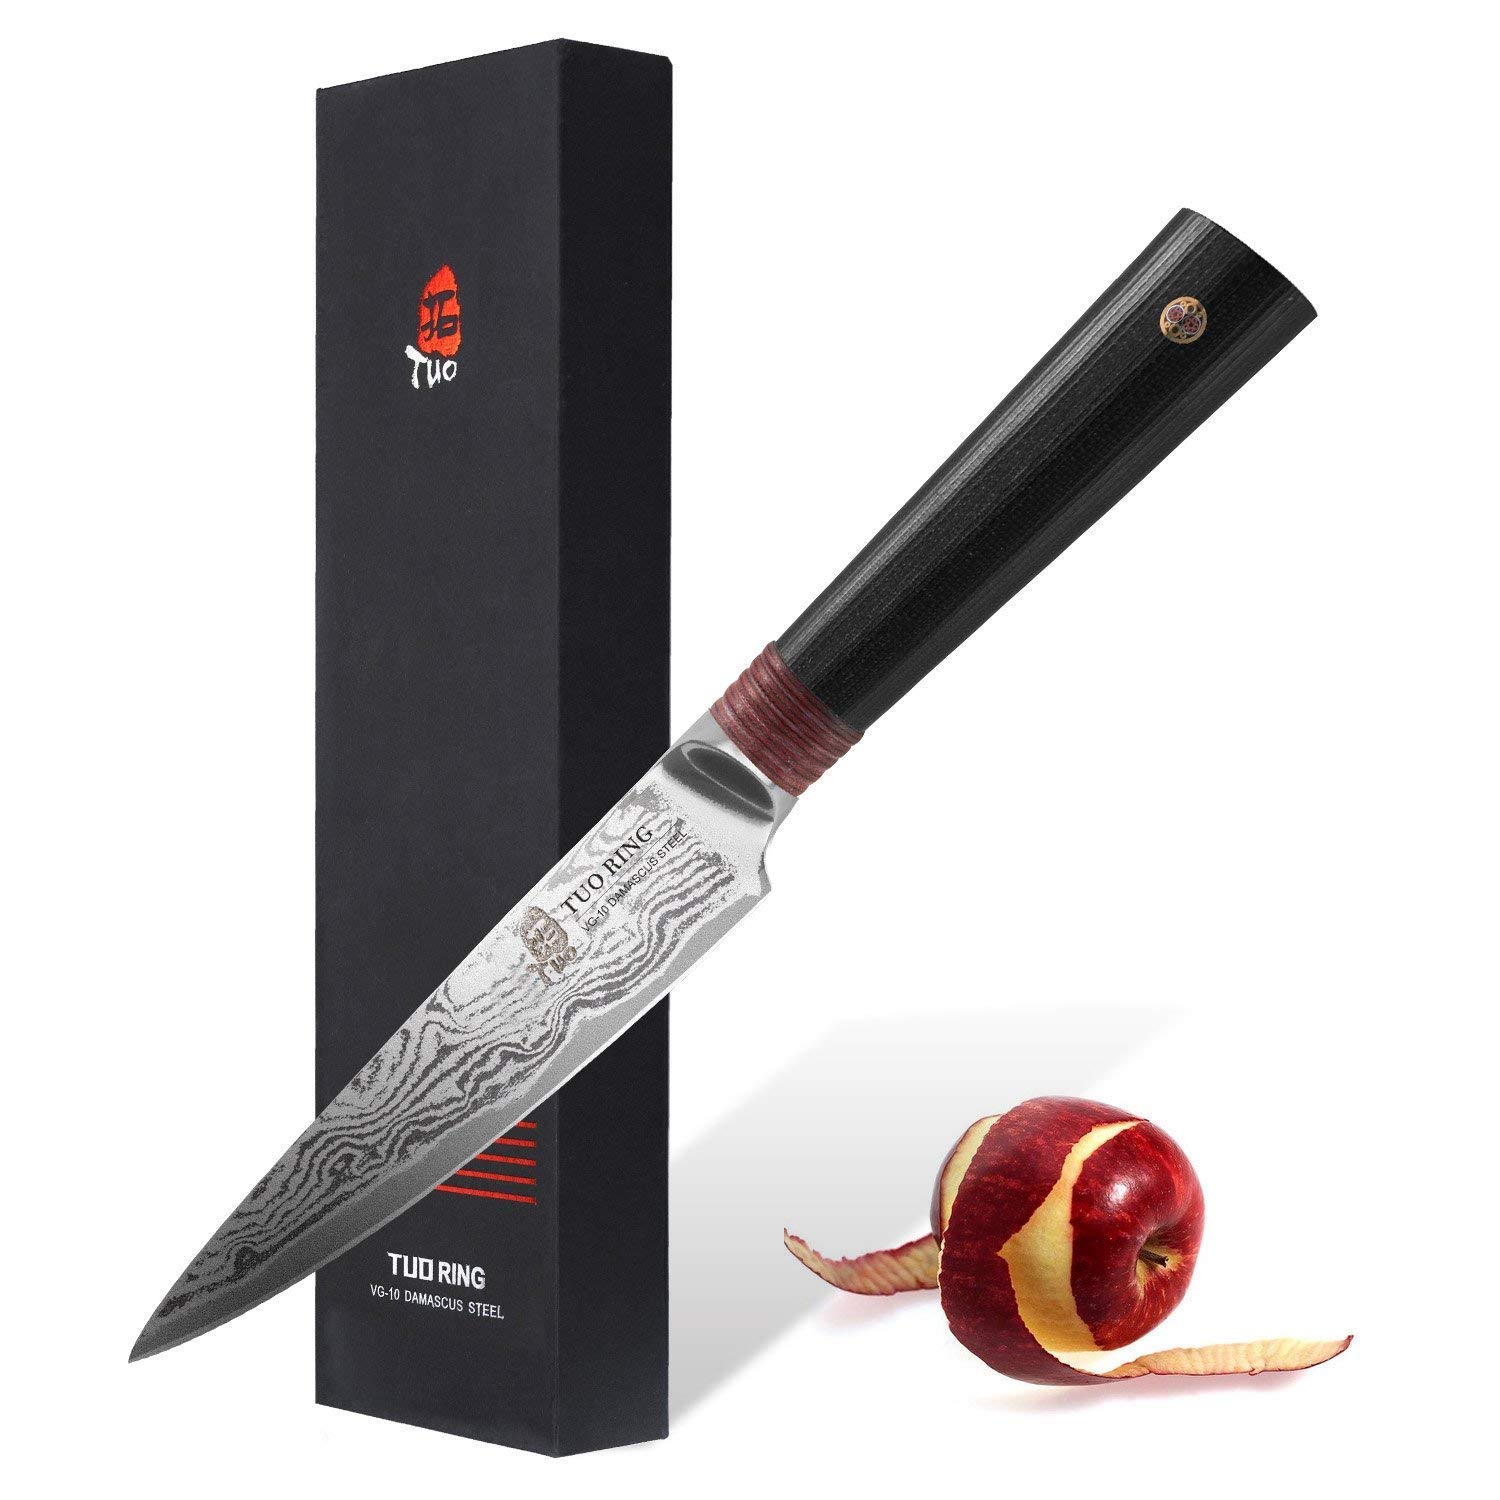
Regarding ice cutting knives, get dense folded steel. You'll need a smaller size for hand carving spheres or diamonds. Spend at least $70 and you will feel like you're cutting bits off a potato chip rather than a piece of brick ice. Cutting down large block ice into workable chunks is trickier. A decent bread knife will work to break down large blocks with the help of a mallet, roughly. We'll talk more about this in our ice section. My choice at home for detail work is here

Take care of your knives. So many of our bar tools are based solely on feel and really don't develop appreciable wear and tear. Knifes dull. Knives need care. Caring for your knives is a very meditative thing. Enjoy it. Appreciate your craft. 

- "A knife is not a weapon, a knife is not a toy; a knife is a tool and who uses a knife as a weapon, or a toy; is a fool."

Thursday, September 26, 2019

Juicers

Hand presses or clamshell or elbow juicers are the most common type of juicer I see in the home and are also found in some cocktail bars which utilize al la minute juice service. friendly reminder that when juicing halves of fruit they go flat side down, not conforming to the bowl shape of the press. Cut Side Down! Older styles had a flat base to match and no holes for drainage of juice, simply a pour spout on the side to dispense the fresh juice. Newer styles have a curved bowl to cause the half-cut citrus to partially flip inside out along with holes at the bottom to allow it to dispense into a tin or other receptacle. An issue with these style of juicer is the variable size of citrus and you'll most likely need a different one for lemons, small limes, and larger oranges and grapefruit. Material is important when purchasing. plastics can break easily some metals are much more difficult to clean than others, especially when scuffed after extended usage. Amco is a good durable metal brand. Norpro is a bit more expensive but many experts swear by it. Chef'n Force does a good job and alleviates strain on the wrist but does have a shorter lifespan I've found.

Standing levered presses are very popular in homes and in bars with a fresh juice program in medium but not excessive volumes. There are two main types, those with gears and teeth and those with a hinged concept that acts more like a scaled-up hand press. Hamilton Beach is the most common brand of the former and has become quite affordable. At volume, these do tend to break down after a few months, but they work amazingly well for home use. The parts can't practically be replaced and tuned other than some simple cleaning and oiling. Ra Chand is a fine example of the latter. It also has a much longer shelf life and requires less care, cleaning, and maintenance. It is a little clunky to operate, especially on a high bartop.

Motorized Reamers are widely utilized by bars juicing high volumes of juices. these are certainly more expensive but they do last substantially longer, making up for the cost in the long run. The preferred brand is Sunkist. These are HEAVY and noisy. They belong in the prep area of a bar/restaurant not anywhere near the front of the house. the fact that you're juicing your citrus by hand leans to a lot of strain on the hands and arms. There's minimal contact with the skin compared to press juicers so not a lot of oil is extracted, but you do yield a substantial amount of juice. Also, your hands do get messy. Wear gloves. Even then your hands will slip on the oil of the skin and the fruit will spin like it was the pottery wheel in ghost.

Fully automated juicers like Zumex were my best friend at several of the bars I've worked at. All you need to do is fill the hopper at the top with oranges (you can do other fruits but it'll wear on the blades and other parts) and the machine will slice it, press it (with pressure on the skin to extract oil), and partially filter large pulp from the juice. It's load and forget, no effort or strain on the body whatsoever. They are quite expensive though, upwards of two thousand dollars. not economical for home bartenders but ideal for bars with a busy morning/lunch crowd that enjoys fresh juice.


Juice extractors are the best way to extract liquid fruit fruits and some vegetables. They are broken into two types: Centrifugal Juicers, and Masticating Juicers. Centrifugal juicers spin a blade around slicing and dicing. They're basically motorized food mills that you'd use in the kitchen. They shred the produce and spin it allowing the juice to drain through and the pulp gets separated into a bin. Masticating juicers work almost exactly like a meat grinder, forcing the produce between gears to extract the trapped liquid. Centrifugal juicers do produce a lot more food waste and commonly yield 20% less juice than their masticating counterparts. A con of the masticating juicer is that it doesn't handle large chunks very well without clogging and jamming. you can shove a whole apple in a centrifugal juicer with no issue. So Masticating juicers need some extra prep. Both of these styles are great for pineapples, carrots, celery, rhubarb, ginger, and any other dense or stalky produce. Centrifugal juicers do lead to a lot of air going into the juice which for the most part will dissipate in time, but some bartenders will juice oranges in these a la minute to create a really fluffy textural drink like a garibaldi. Masticating juicers also have loads of attachments which make them very versatile. All kinds of things, like almond milk, butter, iced cream, baby food, and even make pasta can be made with the right attachment. Masticating juicers also are usually about twice the cost of centrifugal juicers, both in the couple hundred dollars range. Preferred brands are Breville and Omega. P.s. never put a banana in these.

Monday, March 21, 2016

My Bar Battle Station

So I thought I would share this. This is the bar I decided to build for my new home. I started with a desk and built a simple tiered shelving system. That very quickly filled up. I needed to expand so I got a metal wire shelving system. It took a little longer but that did start to fill up. It also lacked a workstation. So I expanded.

I started with this, the Whitmor 6070-5264 Supreme 5-Tier Shelving Unit. Naturally I got it in black. I'm a bartender, it's our color. This did work well for most bottles, but some bottles with small bases might wobble or topple. Shelf liners are recommended. I opted not to use the recommended liners, like this. I opted for simple mesh plastic sheets. I bought mine online, but you can find these kinds of things at your average craft store. They're used in needlepoint. I like them because they clean very easy, are semi-flexible and allow for easy adjustment and good traction. They are also typically a bit more affordable than your branded custom shelving liners, sometimes up to ten times less expensive. This was my start.

I expanded, and it's very easy to do that with this kind of shelving. I got a second 5-Shelf Shelving Unit. This time, I found cheaper one of these. Amazon started their own brand, and it was naturally less expensive. I now had two great shelves, I decided to add a workstation shelving system, a bridge in between the two racks. I thought I'd made the station a little wider. I opted for this. I got two to make it a little more stable and add a space for tools. I am not a big wine buff but I did splurge and get a rack designed for bottles.

Here in lies a problem. Despite having all the same listed dimensions, different brands to have slightly different dimensions. It's no more than a centimeter or two at most but that really does create a big problem when trying to line up the posts with the shelves. I had to put some of the deeper shelves in the middle and the thinner ones on the top and bottom. The system actually bows out slightly in the middle. It does remain stable, though. I'd certainly recommend getting two shelves of the same brand to avoid some of this headache.

Budget wise, the 5-shelf units cost about $80. The three long bridging racks cost $15 each. So, excluding shipping, the whole bar costs a little over $200 to build. Liquor and tools are up to you.


I hate to advocate drugs, alcohol, violence, or insanity to anyone, but they've always worked for me.
- Hunter S. Thompson

Wednesday, July 15, 2015

Wine Keys and Openers

Pull Corkscrew
This is the oldest style of wine bottle opener around. The style of it makes it look like it was some type of woodworking equipment. In short, you press the point in, screw the handle until it is deep enough. Grip the handle firmly and yank the cork out. The original design is of course very risky to use as it requires a very firm grip on the neck and shoulder of the bottle to be able to physically yank the cork out. These are the kind of screw you find Many times when an amateur tries to use this type of corkscrew they will drop the bottle and make all kinds of mess, especially if it's a bottle of white wine that's been chilled and has condensation on it. Some modifications were made over the years. Springs and levers and more form-fitting grips have helped, but they still tended to rely on physical strength to yank the cork out

Waiter's Wine Key
Give me a lever and a fulcrum and I can move the earth. Just about anyone who has worked in the service industry has used one of these at some point. They start as a sort of swiss army knife of handy bits. There's a blade for removing the foil around the cork. There is, of course, the metal helix on a hinge that screws in. What gives this little tool the nickname Waiter's Friend is not just the portability of the tool, it's that little extra piece of hinged metal which just makes the job so much easier. Once the metal helix is screwed in, you tilt the handle and bend down that metal plate so it presses against the top of the rim of the bottle. Carefully holding all parts in place, raise the open side of the handle levering out the cork. It takes so little effort compared to trying to pull it straight out.  It does take a little getting used to. You need to figure out just how deep to screw it in so that when you pull, the entire cork comes out. Some newer keys have a two-tiered metal plate. This allows the key to pull the cork part way out, and then finish the job with the whole length of the plate. 

Butterfly / Wing Corkscrew
These are the most common wine openers I find in your average home. This is a very novel modification to the standard cork pull. they simply took the standard corkscrew that had a brace on it and added some levers attached to gears so that it pries itself out rather than having to be yanked out. It maximizes efficiency and cuts the amount of force needed in half. simply position the screw at the top of the cork and twist the knob. If you have a firm grip on the base of the corkscrew and the bottle then it should screw in with very little resistance. As you screw the winged levers will raise. When you reach a sufficient depth firmly grasp the levers and press down. the cork will be forced out without much strain. Often times the twisting knob serves a second function of a beer bottle opener.

Rabbit Opener
This is a sexy piece of bar equipment. The advantage of this model is that it twists itself into the cork as you raise the handle. So all you have to do is grip the two ears, lift the lever up, and then pull it back down. When this works, they seem like the smoothest bottle opener I've ever worked with. But these are far more form over function I find. They are sexy and can impress your house guests, but sometimes they just don't work. The worm will slide in but then slide ride out without pulling the cork with it. I find the expense and bulk of this item to be impractical for a bartender though they do look pretty at home

Electric Wine Bottle Opener
I'm seeing more and more of these on the market today. Yet I don't see enough of them used in bars or even households. I think there's always been a certain charm to seeing a bottle opened by hand. While as an employee I like expediency in my work, as a guest I like the little ritual. They operate very much on the same system of the rabbit opener but use a battery to spin and pull the worm helix. Oddly enough, these tend to be cheaper than the rabbit openers. Yet, there's no lifting, twisting or squeezing necessary. I find these work very well for home use. The average battery would not be sustainable for a busy wine bar environment, only being able to open five bottles a day. I like these though, most brands work well and look very sexy sitting on the counter with the other appliances.

Coravin Wine System
These are a fairly new addition to the wine game. They use a small needle inserted through the cork of the wine bottle and a CO2 cartridge or draft pressure system to pressurize the wine bottle and force the wine through the needle. This is great for restaurants that don't want to open a bottle of wine which might not sell and could potentially spoil within days. It's also great for liquor reps. You draw out your glass or sample, remove the needle and the bottle remains sealed and preserved. For a regular consumer who doesn't need to worry about having an open bottle of wine sitting around the house for too long, this is not a necessity. 

"Wine is bottled poetry."
- Robert Louis Stevenson

Photo Credit: Pixabay, wikimedia

Sunday, June 21, 2015

Shakers

There are two main types of shakers used by bartenders across the globe. Each bears its own merits. Some are designed for aesthetics while others are designed for versatile use. 

The Boston Shaker
Supposedly the first concept of a shaker goes back to well before the common era to Central and South America where it was used to incorporate chocolate into a beverage. The Egyptians also used it to incorporate spices. The shaker as we know it today goes back to the late 1800s where an innkeeper noticed that two of his serving vessels nested together. In 1872, a device was actually patented to shake six drinks at once.

In America and many other countries, when you shake a drink, it's going to be in a Boston shaker. Especially in a high volume bar environment. The two pieces of a Boston shaker are very multi-purpose. Mixing glasses can be used as beer glasses or even collins glasses. Take a mixing tin, and insert it with the open end down over the mixing glass and give it a light smack to make a seal. Most bartenders find it easier to create a seal with the tin cocked to the side to create a flush seal between the glass and tin. This makes it easier to separate the two once shaken. Shake vigorously, horizontally, rather than up and down, for 8-10 seconds. to break the seal that has most likely tightened due to the ice shrinking the metal strike the side of the tin, at the rim, 90 degrees from where the two parts are flush. This should break the seal and allow the removal of the glass.

Variants of the glass on tin combination are very common. Many craft bartenders have opted to use smaller, 16 oz., cheater tins to make the seal rather than a mixing glass. this allows for a seal that can be gripped and maintained with one hand while shaking. This allows for the shaking of two drinks at once which is very handy at craft cocktail bars as they have become famous date venues. No one wants to stare at their drink waiting for their partner to get theirs, so two drinks at once allow for a proper toast. The French shaker may deserve its own category, but I regard it as a simple variant to the standard Boston shaker. The smaller tin is specially designed to create a perfect seal with the mixing tin and bows in to create a firm grip for the bartender. This also has the advantage of not having any glass that could break.

The Cobbler / Three Piece Shaker
The cobbler shaker has a similar design but with an added dedicated middle piece in the design. It dates back to 1884 as a modification to the Boston shaker which included a built-in strainer. One simply builds the drink in the bottom tin, adds the middle strainer piece to the top of the tin, and then adds the cap on top to create a full seal. Some people say that this incorporates less air into the drink and that when liquid gets trapped between the top two pieces it creates a less emulsified drink. I do find myself just naturally shaking these drinks longer to make sure it's well chilled. Personally, I really don't enjoy this style of the shaker as they often can become stuck together and impossible to separate. With a bit of training, I'm told this won't occur but I really don't see it as a time saver in the long run. There is still a separate strainer piece you need to clean and the pieces are far less versatile. These styles of strainers can look very impressive and ornate, but they really don't serve many functions, all things considered. 

"You can't buy happiness, but you can prepare a cocktail, and that's kind of the same thing."

Photo Credit: Wikimedia, Project Noun

Friday, April 3, 2015

Tools: Strainers

Strainers are a crucial tool for a bartender. They are really what give a drink it's texture. There are many ornate strainers made by beautiful artisans, but they all boil down to essentially three styles. Some may include slight variations such as prongs for balance or a more comfortable grip. Some even have the ability to strain into two glasses at once. For our purposes, there are really just three.

Julep

The julep strainer is designed exclusively to filter out large chunks of ice. It's a concave piece of metal with equally sized holes throughout. This allows liquid to flow through while restraining any large chunks of ice. They are designed specifically to fit the standard mixing or Boston glass. Tere is some debate as to how the julep strainer best meshes with the glass. Most people insert it with the bowl facing up as this tends to allow a slightly firmer grip on the handle butIt does allow very small chips of ice to flow through, but these melt almost immediately. The ideal time to use a julep strainer is when you are making a stirred cocktail. They are ideal for drinks that are made solely from spirits, like martinis. Julep strainers do not function very well at filtering out juice pulp or other particulates. 

Hawthorne

A Hawthorne strainer is probably the strainer that bartenders are most familiar with. Most are comprised of a flat piece of metal with holes and a handle. What makes it a Hawthorne strainer is the spring running around the edge of the bottom of the strainer. This enables the strainer to be adjustable and fit a variety of pouring vessels such as a mixing glass or beaker, a mixing tin, and a cheater tin. The spring also allows the strainer to be adjusted while sitting in the glass or tin. You can pull the strainer back to allow pulpy juices to flow through. You can also press it forward to force the liquid to flow through the spring and the flat metal piece filtering out much more dense pulp. Pretty much whenever you make a shaken cocktail, a Hawthorne strainer is the best strainer for the job.

Mesh
The fine mesh or tea strainer doesn't serve many functions on its own. It does serve an amazing job of supplementing the efforts of a Hawthorne strainer in filtering shaken drinks. Simply strain with a Hawthorne strainer and pour into the Mesh strainer over the glass. some bartenders can even do this all one-handed, gripping the mesh strainer with their thumb and holding the tin and Hawthorne with their whole hand. The fine mesh filters out even the smallest ice chips and bits of pulp. It also helps further aerate a cocktail after being shaken. A mesh strainer does get clogged however especially when dealing with pulp. Often times it will be necessary to tap the mesh strainer to get the last bits of the cocktail through the mesh.

“Alcohol lowered inhibitions. It didn't create impulses that weren't there.”
- Chelsea Scott

Photo Credit: wikimedia