Showing posts with label techniques. Show all posts

Wednesday, March 8, 2023

Jager Bomb with a Hammer

This was a trick I decided to adapt for a small party I was throwing. These days, every cocktail enthusiast and their grandfather has a spherical ice mold. I saw a trend for hollowing them out and serving a cocktail inside the ice sphere. I just did my own variation.

You only need a little equipment for this. You'll need a freezer, naturally. You'll also need a heat source and a metal point to heat, though a soldering iron does the job brilliantly, provided it's clean. You'll also need a small funnel, though a syringe or meat injector works a bit faster, and when dealing with ice, speed is critical. Lastly, you'll need a spherical ice ball mold that you can flip upside down and remain stable. I prefer the style pictured. The only other things required are the liquids, Jagermeister, and Red Bull. 

The basic premise is that ice freezes from the outside in. The trick is just stopping it before it freezes too much. Fill your ice ball mold with water, add the top half, and put it in the freezer. After an hour and a half, flip the mold over. This allows the ball to freeze evenly as different parts of the freezers have different temperatures. Also, any air bubbles and impurities would float or sink, throwing off the thermal conductivity. Otherwise, slices of the ball would be fragile and others very thick. After another hour and a half, remove the partially frozen ice ball. Bear in mind that these times are relative to what I find to be the average home freezer. You may need to extend the time.

Rinse the outside of the mold with warm water, not hot, or you may crack the ice. Now, we need to hollow out the mold. Heat an ice pick or use a soldering iron to poke a hole in the top of the ice ball. Draining can be a tricky part. You can flip the ball over and drain it out, but it will take ages because of the lack of airflow. Using a meat injector seems to be the fastest way of sucking out most of the liquid. You can also use a straw and blow sharply into the ball to eject a good portion of the ball's water while it's upside down to drain it much faster. However, this technique isn't suited to a bar environment. 

Next, using a funnel or the meat injector, fill the ball with Jagermeister. Plug the hole with something that allows the ball to stay upright. A cherry with a pick through it works well, as could a coiled citrus twist. Add the ball to a large rocks glass and fill the glass with Red Bull. Serve with a small hammer to let the guest smash the ball open.

Monday, November 4, 2019

Bar Knives

For the purposes of cutting fruit for garnishes, just about any well taken care of knife will do the job. I've used oyster knives, serrated steak knives, 8-inch chef's knives, and weirder. A butterfly knife worked really well for me for years. A dollar store paring knife will do the job but it will dull or even break fairly quickly. Spend at least $10 on a good piece of stainless steel. Here's a guide of the pros and cons of different knife types. 

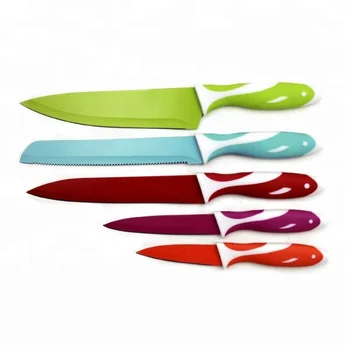
In terms of material make your choice wisely. Carbon steel is sensitive to citrus so avoid that. Some people prefer non-stick silicon-coated knives, which usually come in a variety of pretty colors. The coating allows the knife to be cleaned easier but constant use and sharpening removes the protective outer layer. Most are affordable enough to replace as needed. Compared to carbon steel, ceramics are actually wonderful. They will hold an edge longer, they don't rust, and are typically cleaner. They can't cut overly dense materials though, like anything frozen. Steel remains the most versatile. If you take the craft seriously and enjoy the ritual of maintaining your tools get something solid. If you're just keeping it casual, silicone coating or ceramic work fine. 

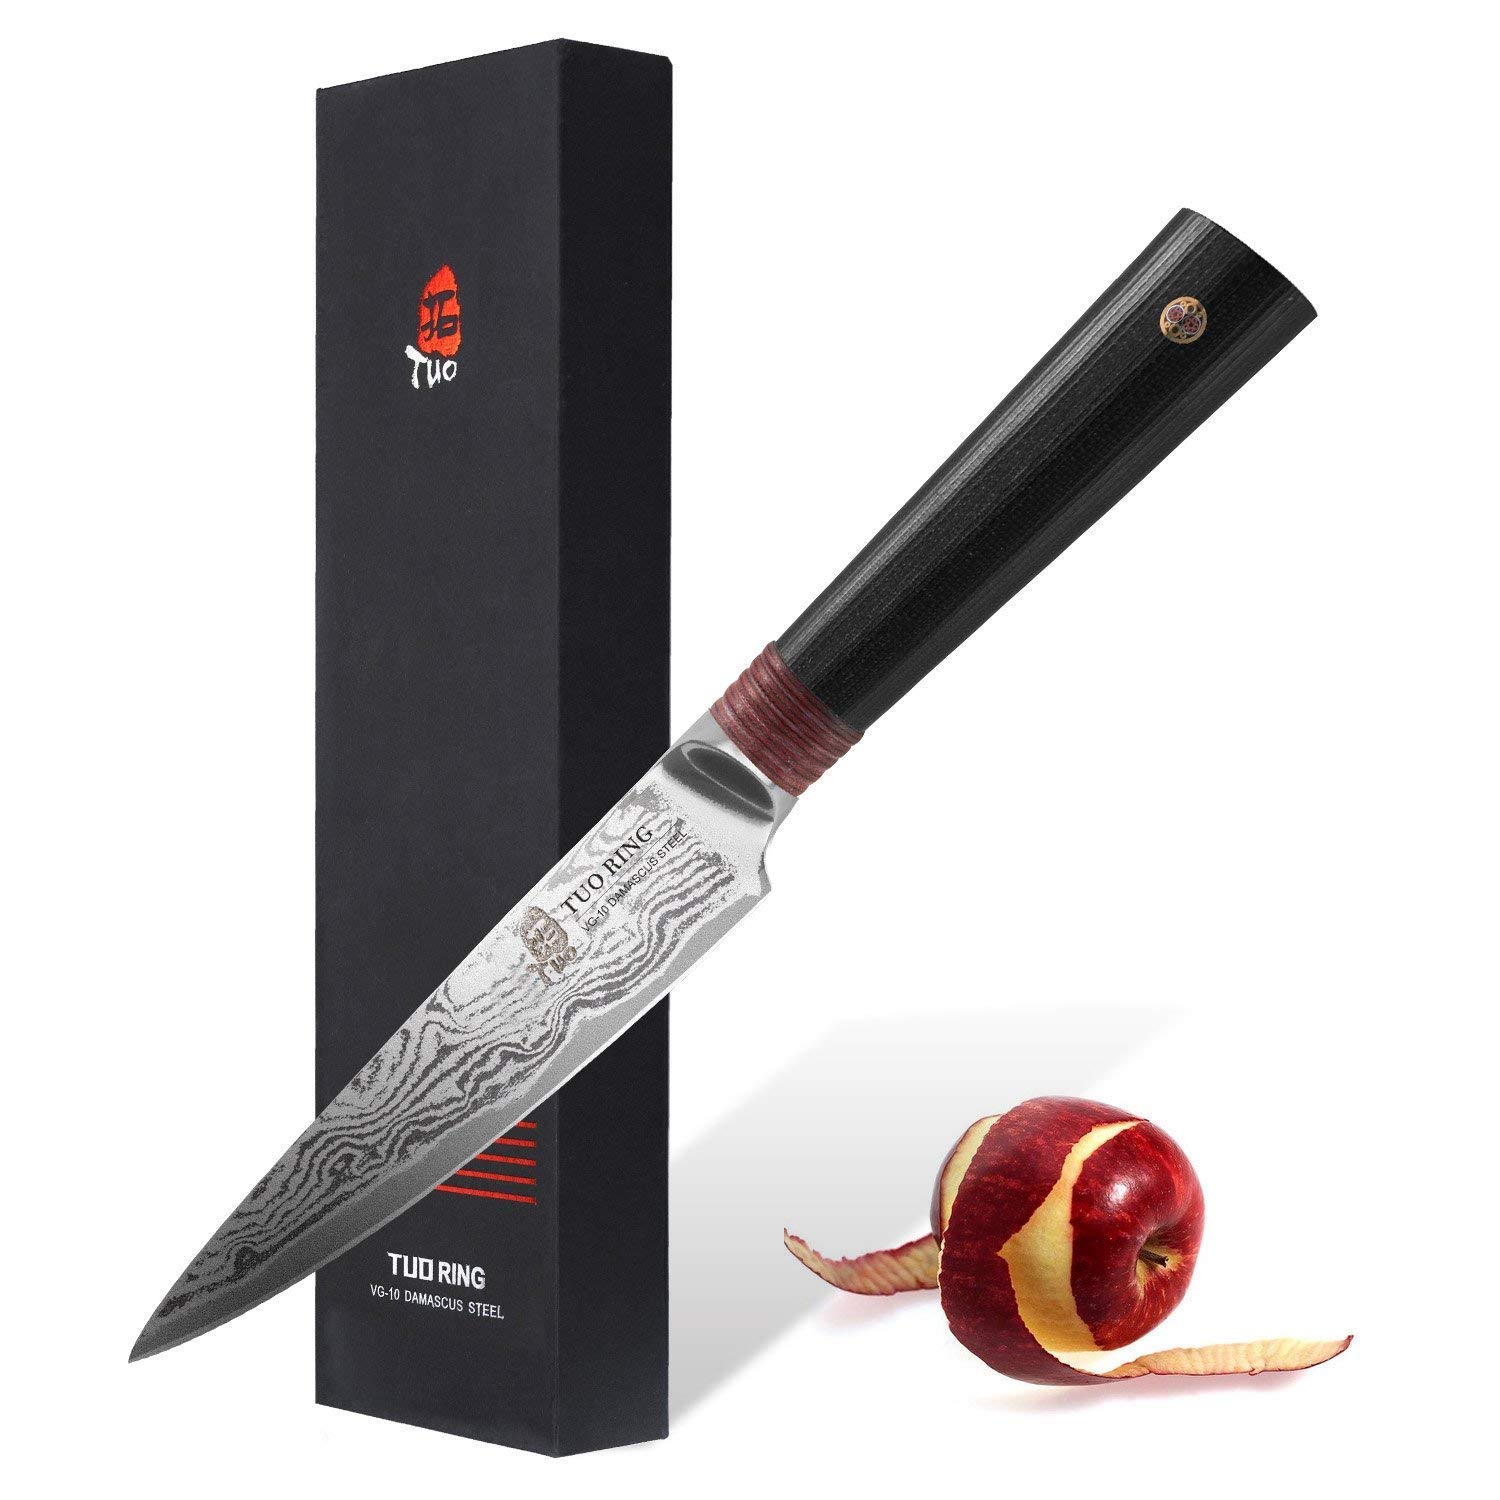
Length and shape are just as important. They are important with regards to most things. 3.5 inches is a standard for a fruit paring knife, but that is sometimes too small and makes cutting anything the size of an orange or larger rather tricky. It'd require multiple sawing cuts, which leads to a higher chance for error. Not the end of the world, but I go for 4 inches, it's still easy enough to finely maneuver. The purchasing of larger knives may be necessary for pineapples and whatever other custom needs you may come across. Go on, get a machete if you are doing coconuts. Just, please be careful and watch your fingers. 

Unless you were a professional chef at an Asian restaurant focusing in soba noodles in a past life, get a standard double-edged blade. With training, these can be handy for ice carving, but that's another conversation. And avoid serration to assure clean cuts with no stringy bits hanging off. 

The shape and curve of the blade are where things really get subjective. A nice point is necessary for detailed work. Get a good spear point and you can cut designs as if you were using a pen. The choice between a classic curved, Sheeps Foot (straight/flat edge), or Bird's Beak style are fairly subjective. Bird's Beaks are weird, you're not a French chef carving potatoes. Sheep's foot knives allow you to cut all the way straight down and have the blade be totally flush with the cutting board. These square-edged knives are typically beautifully sharp. They are unfortunately typically fairly small, expensive, and harder to find. Santoku edges are not perfectly straight but are very close. They are widely available in all materials and sizes. Rounded edges are common but are designed more for fine chopping and mincing in the kitchen.

Handles are another matter. The common chef knife handle material is wood, but you widely see plastics and synthetics used, occasionally metal. Naturally, when wood gets water or acidic components or what have you on it, it can corrode. They are widely agreed to be more comfortable though. Just don't put them in the washing machine. With synthetics, you can be more careless with their caring and maintenance and it will retain its durability. 

Regarding ice cutting knives, get dense folded steel. You'll need a smaller size for hand carving spheres or diamonds. Spend at least $70 and you will feel like you're cutting bits off a potato chip rather than a piece of brick ice. Cutting down large block ice into workable chunks is trickier. A decent bread knife will work to break down large blocks with the help of a mallet, roughly. We'll talk more about this in our ice section. My choice at home for detail work is here. 

Take care of your knives. So many of our bar tools are based solely on feel and really don't develop appreciable wear and tear. Knifes dull. Knives need care. Caring for your knives is a very meditative thing. Enjoy it. Appreciate your craft. 

- "A knife is not a weapon, a knife is not a toy; a knife is a tool and who uses a knife as a weapon, or a toy; is a fool."

Thursday, October 17, 2019

Rims and Rimming

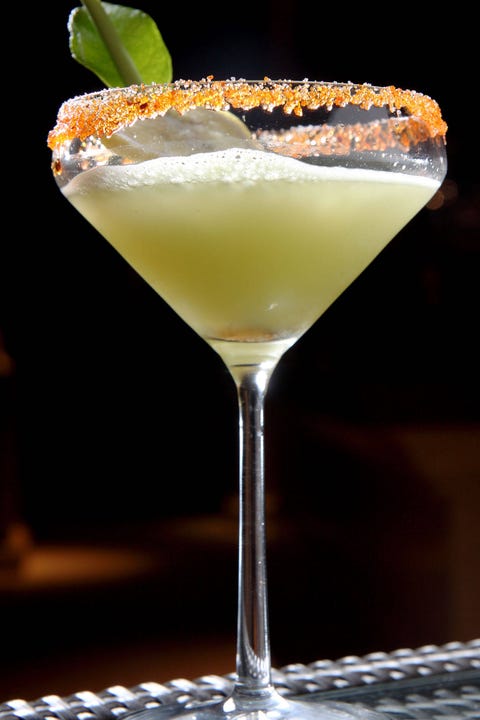
Adding a rim to a cocktail adds a whole new dimension to flavor and texture to your cocktails. a good cocktail rim allows a cocktail to taste a little bit different with every sip and allows the guest a more interactive experience with their drink.

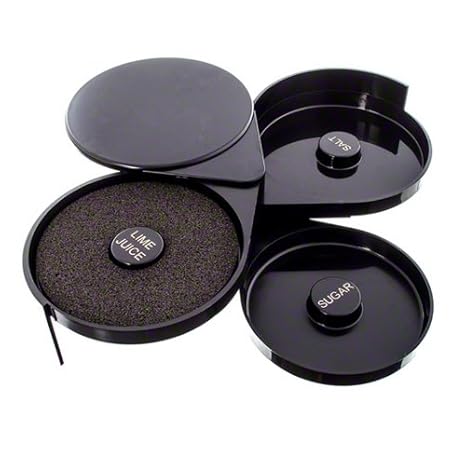
A lot of bartenders I see use a simple commercial rimmer for the sake of speed. Please don't use one of those hinged three-tiered monstrosities. The sponge they utilize to moisten the rim of the glass is rarely cleaned often enough and accumulates all kinds of bacterial growth. Also, this wets the inside of the glass as well as the outside. this is then dunked into sugar or salt which almost immediately gets mixed into the drink. and an extra half teaspoon of salt immediately being mixed into any cocktail will throw off the balance. A cool example of when you actually should have a rim on the inside is the Spanish Coffee where the sugar on the inside is actually burnt and turned into caramel which mixed into the hot cocktail.

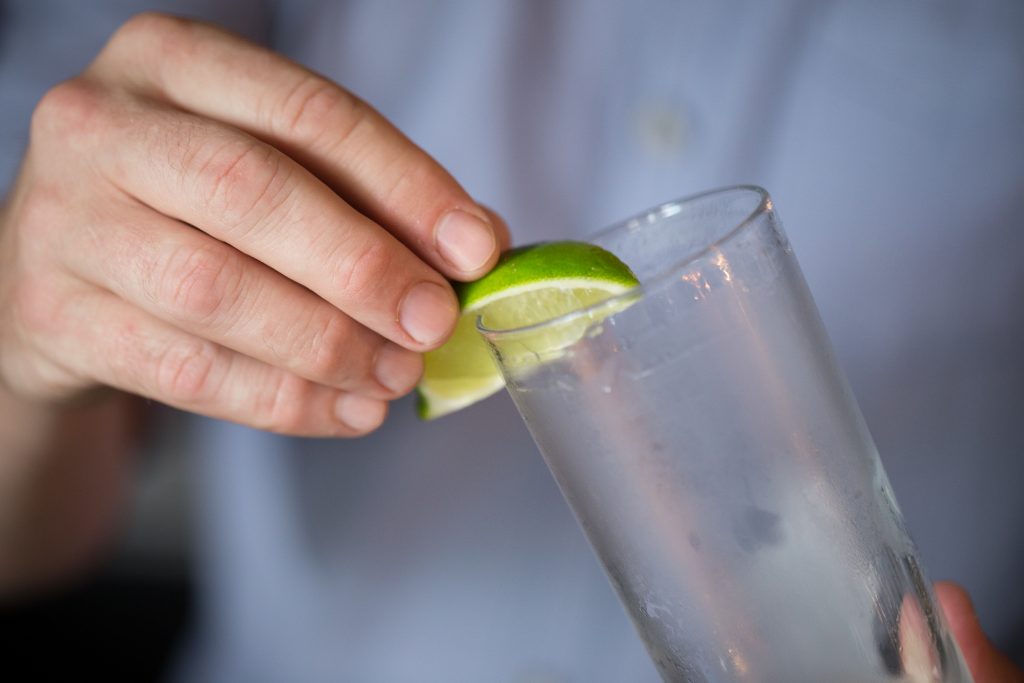
It is typically far more preferable to moisten the outside of the glass with a citrus wedge. Typically whatever citrus is used in the cocktail makes the most sense, but it's not a hard rule. A beautiful rim of salt around a margarita with a lime wedge is classic. I often use an atomizer to wet the glass. A mister filled with honey syrup was used in a few cocktails I've menued over the years. You also don't have to wet the entire rim. you can do just half or just a little decorative strip.

Fill a bowl or dish with your powdered rim of choice. Always add more than you think you'll need to guarantee a consistent coating overall.  Dunk your moistened glass into the bowl and give it a little twist in the powder. Pull out the glass and give it a little tap to break off any heavier clumps. Fill with your cocktail and you're good to go. 

It's also not unheard of to coat the rim of your glass with melted chocolate and allow it to cool into a tasty band. a lot of dessert drinks utilize chocolate. I've seen smores cocktails rimmed with chocolate syrup and crushed graham cracker dust. I've seen gold dust, gingersnap cookies, bacon salt with old bay seasoning for a Bloody Mary, and more.

Aside from the classic sugar and salt, some of my favorite rims are:

Spicy cinnamon sugar:
12 parts Sugar: 2 parts Ground Cinnamon: 1 part Cayenne Powder. Mix around in a bowl and you're good.

Smoked Citrus Sugar:
1 part bruleed citrus peels (finely minced), 2 parts sugar. Take any assortment of citrus fruits and peel them. Take a brulee torch to the peels until they dry and start to curl. Chop up the peels into a fine mince, and add your sugar. Muddle this around a bit to get out all the oil you can.

Garam Masala Sugar:
4 parts Sugar: 1 part Garam Masala (mix of cumin, coriander, cardamom, black pepper, cinnamon, cloves, nutmeg).

Green tea cocktail rim:
Matcha green tea, sugar, citric acid powder.

"You have no idea how hard it was to not make sex jokes in this post."
- Me